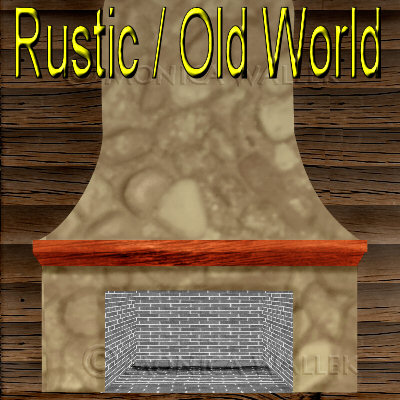
Rustic/Old World Fireplace PSP7-8
Although I was inspired by the fieldstone fireplace in a log cabin, you could also create a more European style fireplace with a stucco or plaster pattern. You will use the deform tool if you choose to create your own hearth area.

Sources
You will create or provide your own fill patterns outside of this tutorial. Jasc includes many suitable patterns and even textures with which you can create your own patterns. In addition, the Dames have created numerous free tile and background tutorials which could be used for your supplies. You will need my canvas file available here.

You will need to open the canvas file in whichever version of PSP you will be using.
- Click on layer 05 and Selections->Load from alpha channel. Fill with your pattern choice. Selections->select none. On same layer, load 06 selection. Press delete key or scissors icon one time. Select none. Using your eraser tool, erase the thin line below the area you just deleted.
- On layer 07, load the matching selection. Fill with the wood pattern of your choice. Selections->select none.
- On layer 08, load the matching selection. Fill with the wood pattern of your choice. Selections->select none.
- Move the lower shelf up to meet the upper shelf. I missed that little space there.
- Now we can apply the shadows and highlights for more depth. Use your retouch/lighten darken RGB tool set for round, size 11, hardness 48, step 25, density 82, opacity 50. (PSP8 users thickness=100, rotation=0.) You may need to go over the same area several times to get the effect I did. Layer 07 darken the whole area. Layer 08 lighten most of the area. Layer 05 darken under the shelf area and around the opening.
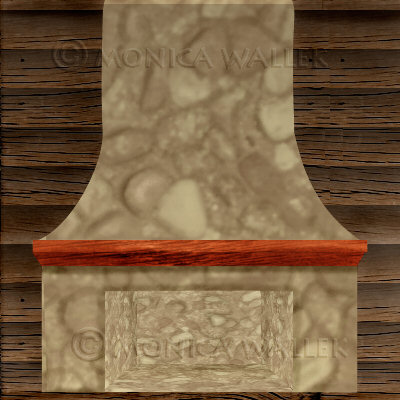
- You can either use my layer 0 guide to deform your own left, right, back and hearth floor layers or you can reveal layers 1-4 which I created for you (gray brick). To use the guide: reveal layer 0. on a new layer flood the entire layer with your desired pattern. Set the layer opacity to around 50%-- enough so you see the guide layer through your pattern. Click the deform tool. ex: for the left wall, you would click, hold and drag the middle node on the right side. Drag the node left to make the back vertical edge. Do the same for the left node, but push it to make the front vertical edge. Click on a corner and hold down the control key to drag in either the left vertical corners or the right ones. Use the shift key to move one corner into alignment. Repeat these steps for each of the other 3 layers to complete the hearth area.
- For those wondering "why deform my own pattern?":


PSP7 tool icons are from MaMaT's icon tubes.
"PSP" refers to
CorelTM Paint ShopTM Pro®.
The individual creators own the copyrights and/or trademarks on their respective software filters, fonts, presets, Quick Guides, scripts, magazines, and images/banners which are mentioned or appear on these pages.
Customizable layout provided by Blue Robot CSS layouts. Note that I changed the colors, background and customized the CSS for my site.
© Copyright 2001-2011, Monica Wallek, All rights reserved.
Using my tutorial, means you agreed to these usage terms. All page elements, tutorials, and explanatory and sample graphics belong to me except where otherwise noted.
