Making Rain from a Filter
Sometime last year, I stumbled over a lesson for making realistic water drops from Joseph Apice. I enjoyed playing with the lesson, but noticed that I hadn't seen any lessons for making actual rain in PSP. I did eventually find Mahogany's rain mask that she made and the Sumrall Works lesson that inspired her. The mask and lesson were closer to what I was trying for, but still too subtle for me to see in an animation. I messed around with several images and then gave up on rain for a while.
As I was reading through the information on a new filter, I noticed they mentioned that the filter could do rain, as well as fog and clouds. Curious, I began to play, and applied that knowledge I gained from those other rain lessons since the documentation omitted further rain discussion. Interestingly, depending on what you do, the filter can create water drops or falling rain.

Sources
You will need to download Van Der Lee's Snowflakes filter from their site, if you don't already have it.

- Open your image you wish to add the rain to and make a SHIFT-D copy of it. Close your original image.
- Add new layer, Rain.
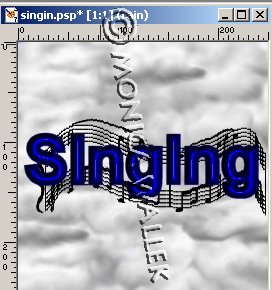
- Set your Foreground color to #C0C0C0.

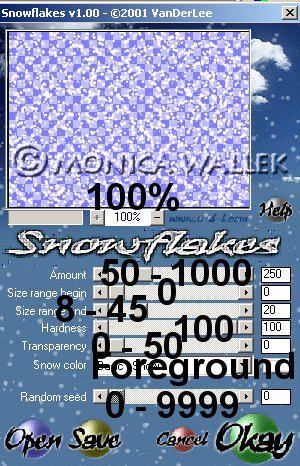
- Open the Snowflakes Filter. (I set my filter preview window to 100%.)
- Now, you control your results. I'm giving value ranges to play with where possible. Feel free to experiment on your own! A higher amount and/or higher size end = Heavier rain. Changing only random seed creates rain frames for a steady animated rainfall.
Don't panic at my purple rain. I chose that color instead of gray so you could see it more easily in my example.
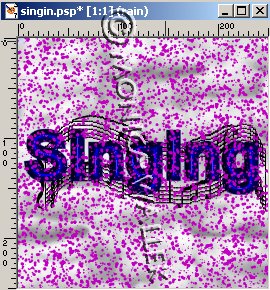
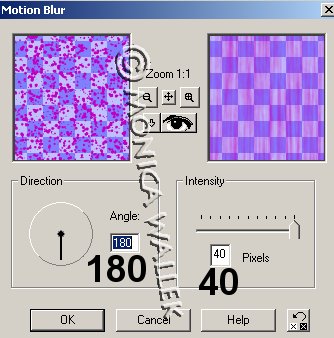
- Now, you create the rain direction. Go to Effects->Blur->Motion Blur and choose an angle between 90-270. 180 is straight down. Choose 40 pixels.
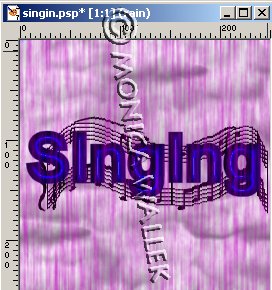

Sample
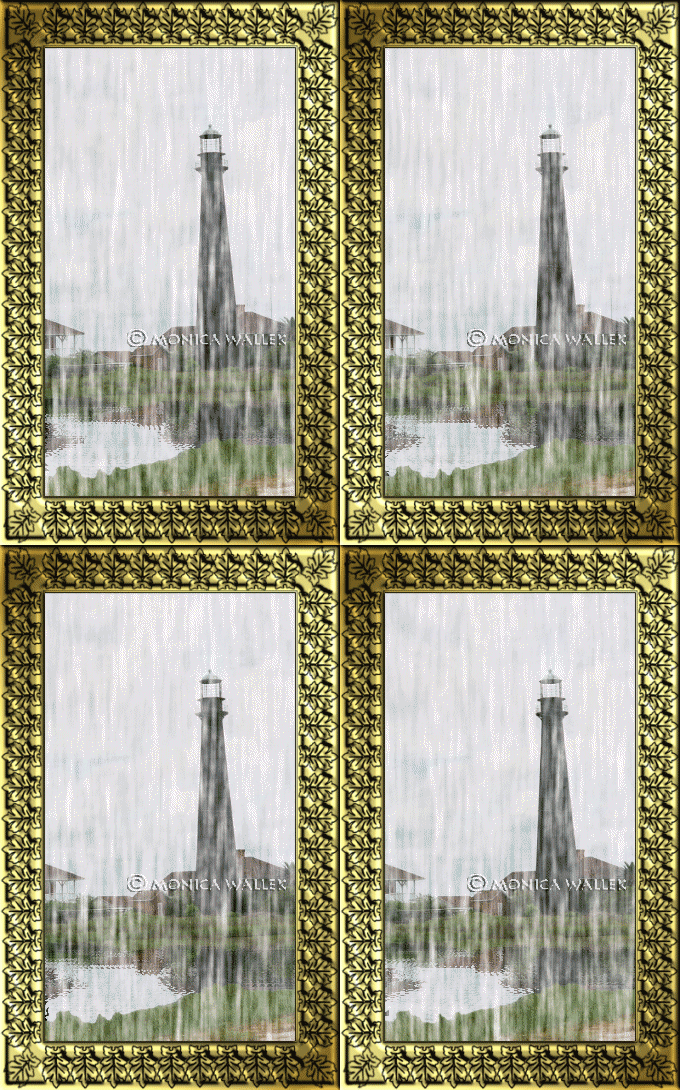
For those struggling with creating an animation, I've finally decided to provide the steps I used for this lighthouse sample. If you follow the directions, you will end up with a rain pattern similar to mine, animated. If you need still more detail, click on HELP in PSP or visit one of the many other fine Animation tutorials on the Internet. We'll pretend you applied the snow and motion blur to 4 different rain layers like I did.
so you have:
- frame layer?(optional)
- rain4 snow settings were 250, 0, 20, 100, 0 seed
- rain3 snow settings were 250, 0, 20, 100, 1 seed
- rain2 snow settings were 250, 0, 20, 100, 2 seed
- rain1 snow settings were 250, 0, 20, 100, 3 seed
- a watermark layer?(optional .. just keeps it from bouncing around)
- your background image layer (lighthouse, clouds, etc)
This is the way I do mine... was only way I could keep jiggles away from my images when animating:
- hide only the following layers:
- rain2
- rain3
- rain4
- Hide only the following layers:
- Rain1
- Rain3
- Rain4
- Hide only the following layers:
- Rain1
- Rain2
- Rain4
- Hide only the following layers:
- Rain1
- Rain2
- Rain3
- Now..... save the original psp file... just in case of Murphy's Law. I name mine something like rainsomething.psp
- Open Animation shop. I always use the wizard to animate my stuff... Otherwise I forget how. ;) So, use the wizard, load the Rain1.gif, Rain2.gif,Rain3.gif, and Rain4.gif files and keep them in that order. I named the files so they'd be in order when I gathered them up in the AS wizard..... I am forgetful too. ;)
- Once you've run the wizard, you'll need to save the created file. I named mine lighthouseANI.gif.
(I used the Almathera Puddle filter on the lagoon to make it appear the rain is hitting the surface. Lighthouse pictured is the Bolivar Point Lighthouse which is across the channel from Galveston, Texas, and is a personal photo.)


PSP7 tool icons are from MaMaT's icon tubes.
"PSP" refers to
CorelTM Paint ShopTM Pro®.
The individual creators own the copyrights and/or trademarks on their respective software filters, fonts, presets, Quick Guides, scripts, magazines, and images/banners which are mentioned or appear on these pages.
Customizable layout provided by Blue Robot CSS layouts. Note that I changed the colors, background and customized the CSS for my site.
© Copyright 2001-2011, Monica Wallek, All rights reserved.
Using my tutorial, means you agreed to these usage terms. All page elements, tutorials, and explanatory and sample graphics belong to me except where otherwise noted.
