Neon Signs in PSP8
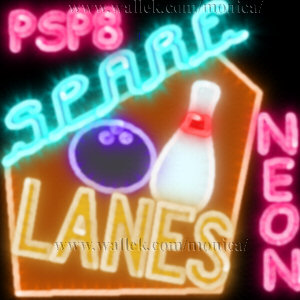
This is a requested tutorial. I was playing around with one of Gary Barton's newer scripts on my shapes. While I won't share the original shapes from that experiment- you can see it at the end of this tutorial- I will share another shape created for this tutorial.
Those who paid their fee to the Dames Members Site will learn how I vectored the shapes. That tut is not a prerequisite for this one though.

Sources
You need my canvas. You also need Gary Barton's VectorTube script. Kindly follow his install directions after downloading his script.
Fonts I used to create the canvas:
- "SPARE" uses Aenigma's Lowdown font which you'll find at Font Freak. Many other suitable fonts are there as well.
- "LANES" uses Road Signs D, but I can't find a current site for you.
- "Neon" uses Comic Sans font.

You will need to open the canvas file.
- Click on the SPARE sublayer. Click the tube tool and choose either Neon green or Neon pink tube. Size = 50. In the script drop down menu choose VectorTube. Run the script. You may wish to rename the created layer from "promoted layer" to "SPARE neon". Adjust->Hue & Saturation->Colorize with 127, 255.
- Click on "Lanes" sublayer. Run the script. Rename the new layer. Colorize with 28,151.
- Click on bowlingball and run script. Rename the new layer. Colorize with 187,255.
- Click on stripe and run script. Rename the new layer. Colorize with 255,255.
- Click on pin and run script. Rename the new layer. Colorize with 0,0. Adjust->Brightness & Contrast->Gamma Correction. Make sure the little box is checked and move any of the sliders to the right to lighten the gray into white. Repeat Gamma Correction if needed, but you shouldn't need to slide it so far right.
- Click on sign base and run script. Rename the new layer. Colorize with 18,255.
- You now have a finished neon sign. Do experiment with other vector shapes, lines and fonts and use other tubes.
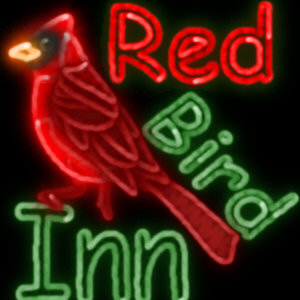
- Another use for my continuous tubes! Thank you Gary!
- My Red Bird Inn Sign.

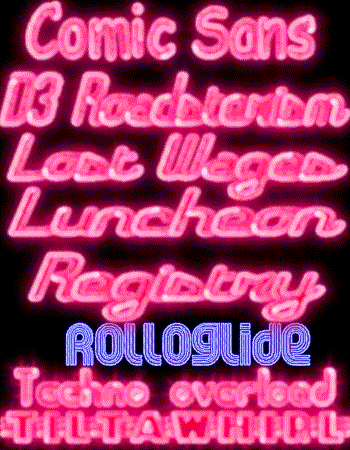
- Comic Sans, registry, and many other script fonts look good with VectorTube.


PSP7 tool icons are from MaMaT's icon tubes.
"PSP" refers to
CorelTM Paint ShopTM Pro®.
The individual creators own the copyrights and/or trademarks on their respective software filters, fonts, presets, Quick Guides, scripts, magazines, and images/banners which are mentioned or appear on these pages.
Customizable layout provided by Blue Robot CSS layouts. Note that I changed the colors, background and customized the CSS for my site.
© Copyright 2001-2011, Monica Wallek, All rights reserved.
Using my tutorial, means you agreed to these usage terms. All page elements, tutorials, and explanatory and sample graphics belong to me except where otherwise noted.
