Make a PSP7 Ice Cream Cone
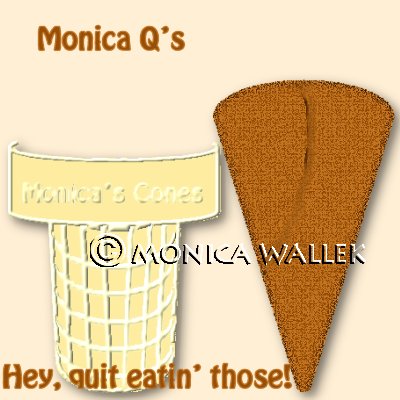
This tutorial was created because some very nice people on a non-graphics list would NOT stop talking about ice cream. LOL. Since I already did something which can be used to create ice cream, I needed a cone to put it on. This tutorial was written using PSP 7.02. If you have 7.01, the Retouch tool options are spread across 2 tabs in the options window. (Why "Q's"? I needed a name and these are "quality cones".)
You can make a sugar cone by yourself and even convert it into a waffle cone. Somebody ate the waffle cone already, so you're on your own there. If you aren't as sure of yourself or don't like sugar cones, I also provide instructions for creating a cake cone with selection files I provide.

Sources
Download this supply file and unzip it. Please make a note of the location of the files. You will need to reference these later in the tutorial.
.SEL files Please Do NOT try to open these with the FILE or BROWSE commands. Just store them in your SELECTIONS folder. You can create one if you don't already have it, or just keep in the unzipped download folder. As long as you can find the files again. :)
(These are actually just invisible outlined shapes I'm providing for you. Otherwise, you'd be drawing each cone piece from scratch.)

Sugar Cone
- New Image 400 x 400 transparent.
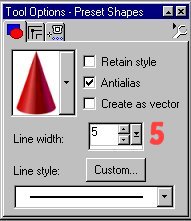
- Preset Shapes
 CONE and set foreground color to #C0721E.
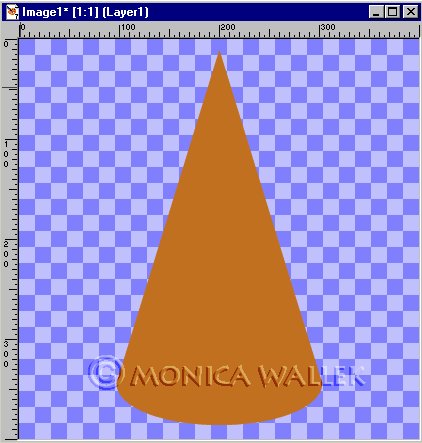
- Select
 your cone shape .
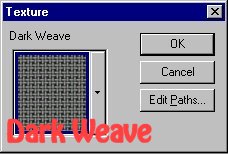
 - Add new layer named Squares. And switch your foreground color to #974E07. Choose Dweave in your foreground texture box. Fill
 your selection now.

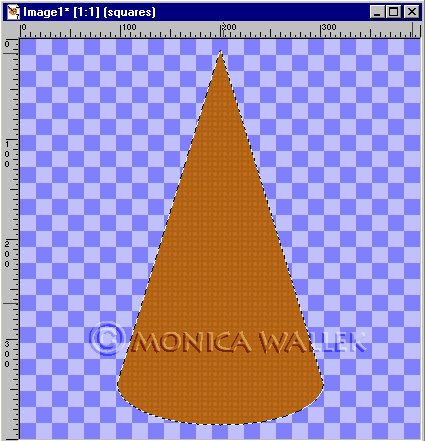
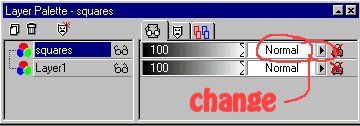
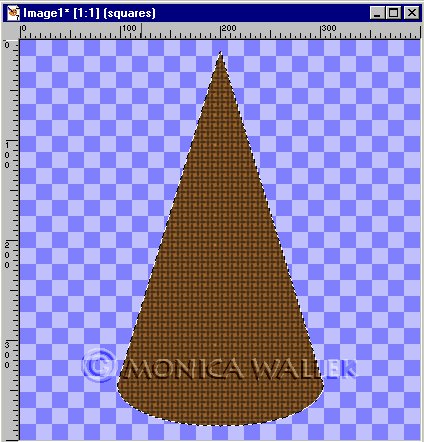
- Do you like this color? To get it darker brown, change your layer blend mode to:Multiply, Dissolve or Difference. Your choice. ;) I used Dissolve for this lesson.
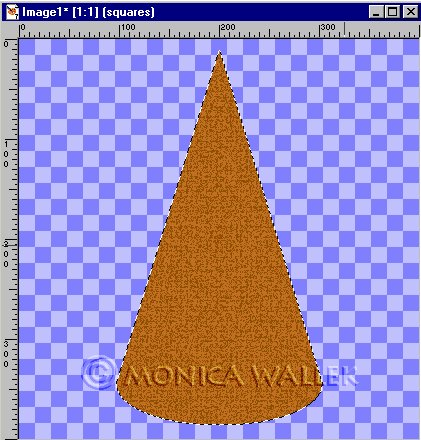
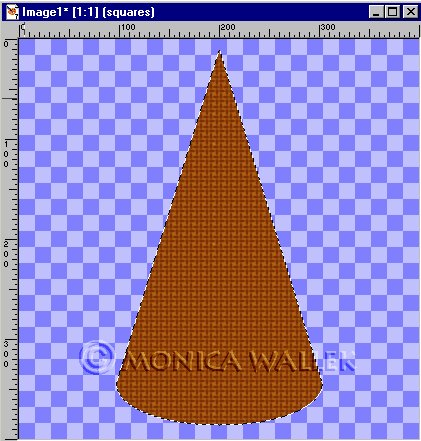
- Selections->Invert. Go to Effects->Drop shadow
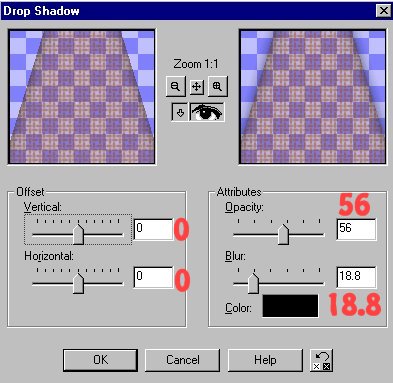
Invert again and keep selected.
- Add a new layer named Fold. Using a size 3 brush
 with the dark color on it and texture set back to null, draw a curved line from the low center to the outer upper edge- pick a side. For those with unsteady hands, you'll have the best results. Repeat using the light color.
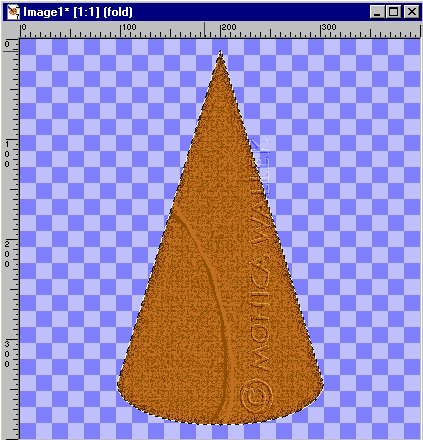
- Blur the lines together slightly with the Retouch tool, Smudge setting.
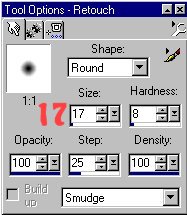
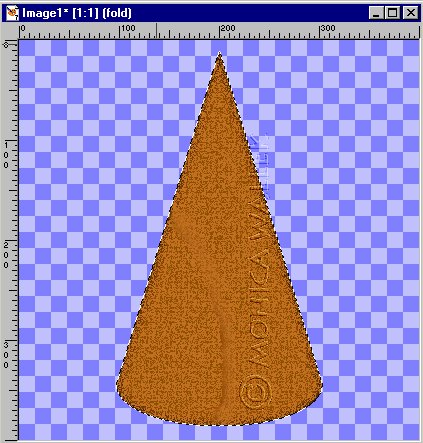
- Select
 the blurred area and add this cutout (Effects->3D->Cut out).
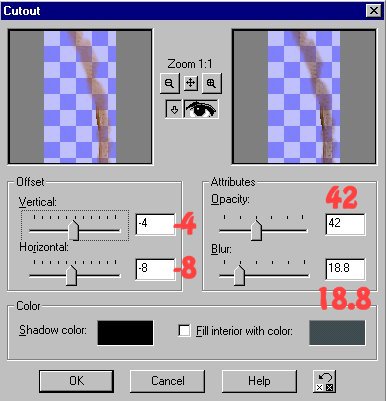
- 10. Select none. Layers->Merge visible.
- 11. Erase
 the pointy tip a bit for realism. Image->Flip to get it ready to fill with ice cream. Effects->Sharpen->Sharpen to get rid of fuzzies from flipping.
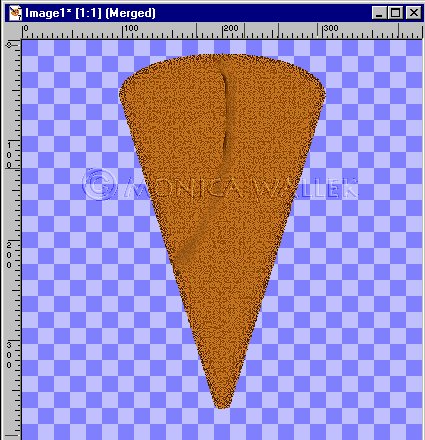
- 12. Save it and tube it if you wish.

Cake Cone
Light color= #FFFECB
Dark Color= #FEEDA0
- Open a new 400 x 400 transparent image.
- Add a new layer named Bottom.
- Go to SELECTIONS->LOAD from Disk. Choose MWBottom.SEL . Flood Fill
 with #FEEDA0- darker color.
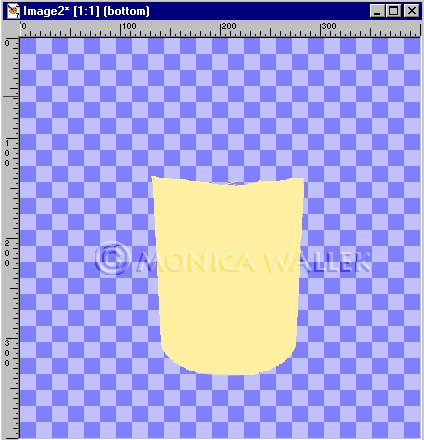
- Add new layer Top. Go to SELECTIONS->LOAD from Disk. Choose MWTop.SEL. Flood fill
 with the #FEEDA0 the same color.
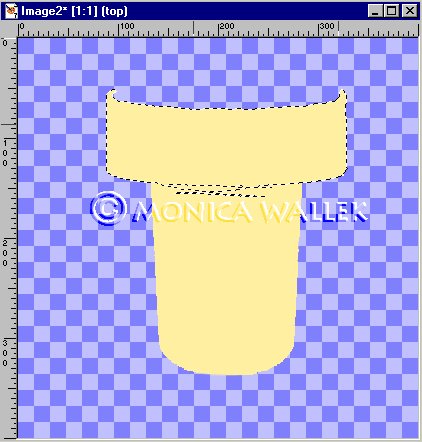
- Add new layer named Lattice. Go to Selections->LOAD from disk. And choose MWLattice.SEL. Flood Fill with #FFFECB lighter color. Go up to EFFECTS->3D->Inner Bevel.
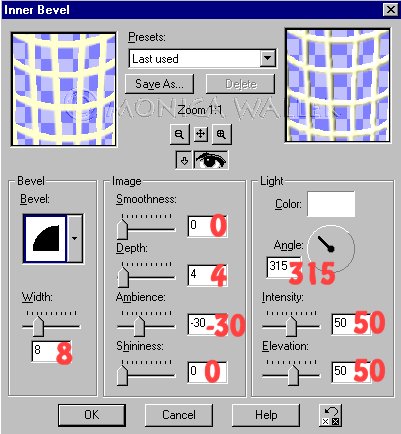
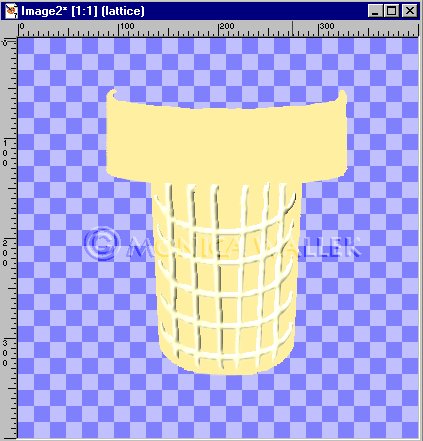 Select none.
 - Add new layer named Text. Foreground = #FEEDA0 and background = #FFFECB. Add your text
 (I used Bobo font Bold, size 20, but the Bobo font appears to be unavailable. Comic Sans works just as well and a kind visitor also mentioned that the Hobo font is very similar, if you can find it.) Keep your text selected. Go up to EFFECTS->3D->Inner Bevel. Apply same inner Bevel.
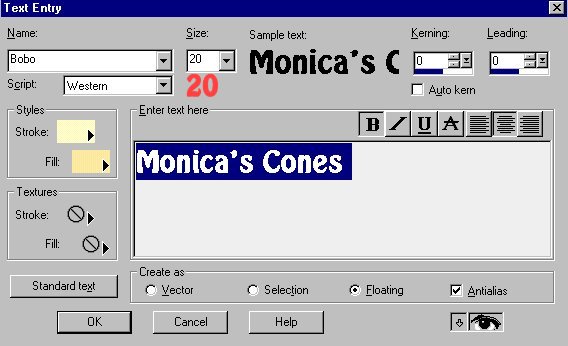
Go up to Effects->Geometric->Vertical cylinder.
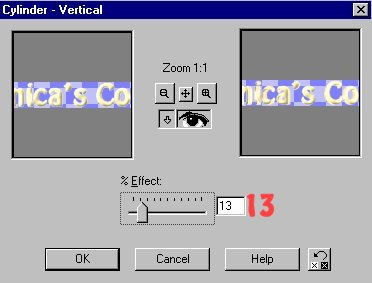 Be sure to move
  your text to be completely on your cone top.
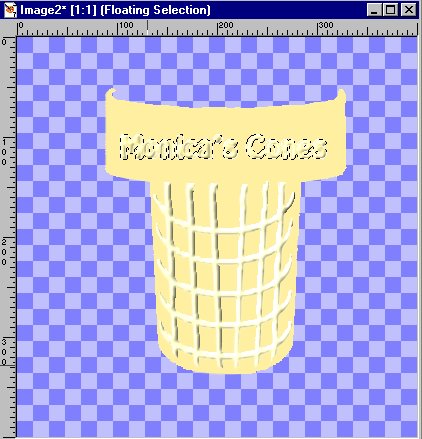
- 7. Add a new layer named Outline. Go to Selections->LOAD from disk. And choose MWOutline.SEL. Flood fill with the lighter color #FFFECB. Go up to EFFECTS->3D->Inner Bevel. Apply same inner Bevel as above.
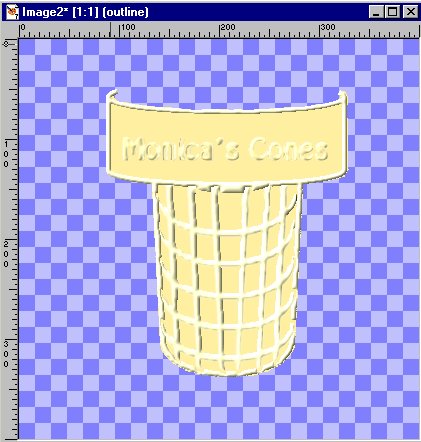
- 8. Merge visible all your layers and save the file. You can tube the cone at this point.
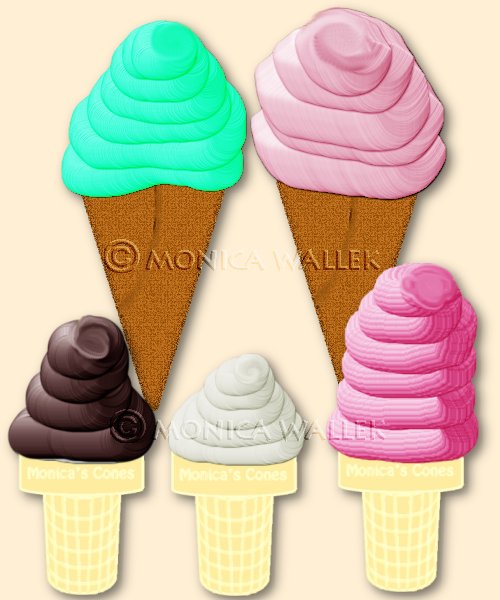
Fill either or all your cones if you wish with the ice cream made using tubes from my Icing lesson. You can tint your ice cream to be any flavor.


PSP7 tool icons are from MaMaT's icon tubes.
"PSP" refers to
CorelTM Paint ShopTM Pro®.
The individual creators own the copyrights and/or trademarks on their respective software filters, fonts, presets, Quick Guides, scripts, magazines, and images/banners which are mentioned or appear on these pages.
Customizable layout provided by Blue Robot CSS layouts. Note that I changed the colors, background and customized the CSS for my site.
© Copyright 2001-2011, Monica Wallek, All rights reserved.
Using my tutorial, means you agreed to these usage terms. All page elements, tutorials, and explanatory and sample graphics belong to me except where otherwise noted.
