Spring Bears
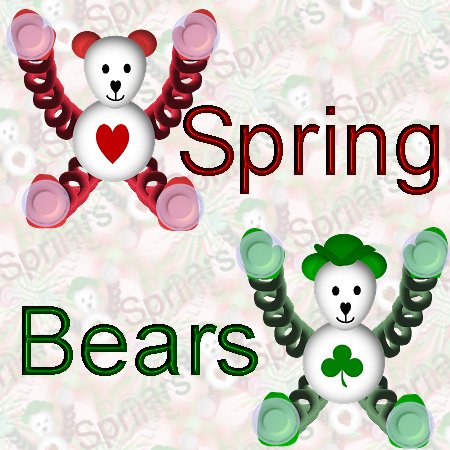
Welcome to another catalog-inspired lesson. This lesson is made with selections. Feel free to wander from the lesson and make your bear personalized. many thanks to BarbS and ChooChoo for input on creating the suction cup.
PSP7 tool icons are from MaMaT's icon tubes.

Supplies
Get my lesson supplies here. I'm including my selection files and the suction cup file.

- Open a new 450x450 transparent 16.7 million color image. Yes, that's huge. You'll need to resize this later. Please note that the color choice I offer is green first, then red. Choose the color you wish for the bears shown or choose your own medium and dark shades of a color.
- Add a new raster layer, Tummy. Selections->Load from disk the tummy.sel file. Flood fill
 with white. Selections->invert. Go to Effects->3D->Drop Shadow and use my settings below. Select none.
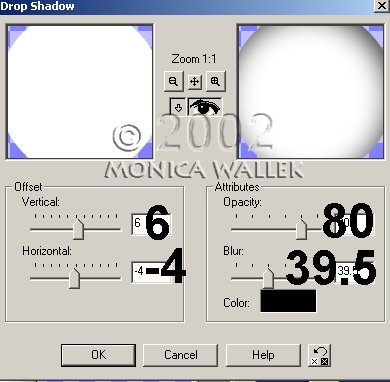
- Add new layer, Outer Ear. Selections->Load from disk the outerears.sel file. Flood fill with #00C000 or #FF4040. Selections->invert. Go to Effects->3D->Drop Shadow and use same settings. Select none.
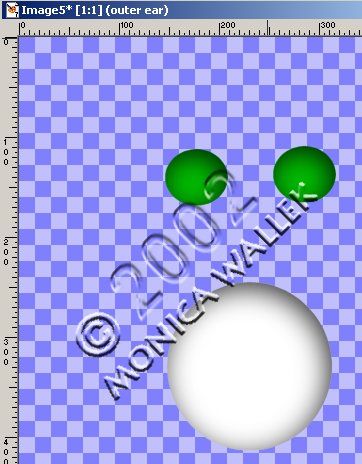
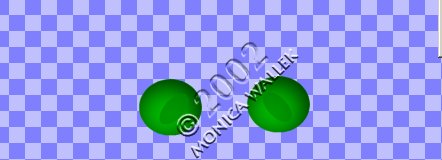
- Add new layer, Inner Ear. Selections->Load from disk the innerears.sel file. Flood fill with #00C000 or #FF4040. Selections->invert. Go to Effects->3D->Drop Shadow and change OPACITY setting to 36. Select none.
- Add new layer, Head. Selections->Load from disk the head.sel file. Flood fill with white. Selections->invert. Go to Effects->3D->Drop Shadow and reset Opacity back to 80. Select none.
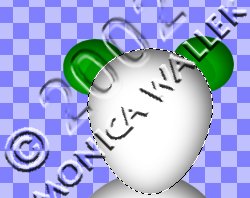
- Add new layer, Face. Selections->Load from disk the Face.sel file. Flood fill with black. Select none.
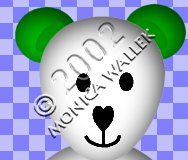
- Add new layer, Crown. Selections->Load from disk the hatcrown.sel file. Flood fill with #008000 or #C00000. Selections->invert. Go to Effects->3D->Drop Shadow and change your Opacity back to 36. Select none.
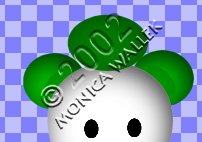
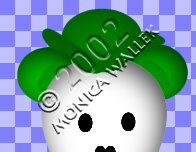
- Add new layer, Brim. Selections->Load from disk the hatbrim.sel file. Flood fill with #008000 or #C00000. Selections->invert. Go to Effects->3D->Drop Shadow and use same settings. Select none. You will need to Merge Visible so we can move
 our bear up a bit for more leg room.
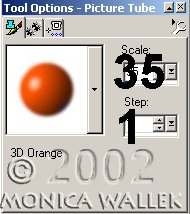
- Now, it's your turn to draw the springs for the bear's arms and legs. Wait, before you run off and give up, you'll be using a tube for all the shading. Click on your tube tool
 and choose the 3D Orange tube. On a new layer, Springs, draw the spring legs and arms. When you're done, go to Colors->Colorize and choose either 85,44 or 250,172. Don't panic, you can claim the spring is stretched more or less if your mouse control is not so good today. Move this layer below your bear layer. (I've already erased some of my springs so the hands and feet fit better.)
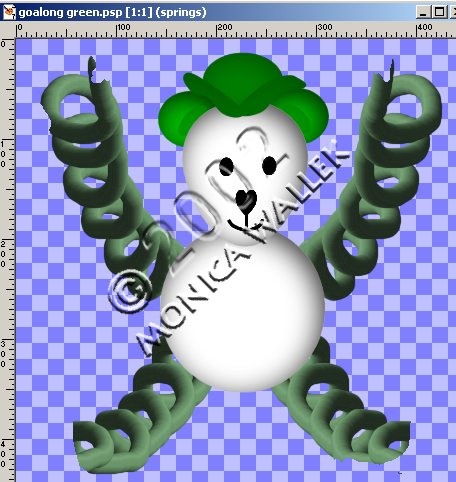
- Add new layer, Hands. Load the Hand.sel file and flood fill with #00C000 or #FF4040. Invert the selection and apply the same drop shadow. Select none. Move into position over left spring arm. Layer->Duplicate. Image->Mirror the copy. Effects->Sharpen. Reposition if needed.
- Add new layer, Feet. Load the foot.sel file and flood fill with the same color you used in step 10. Invert and apply the same Drop shadow. Select none. Move into position over left spring leg. Layer->Duplicate. Image->Mirror the copy. Effects->Sharpen. Reposition if needed.
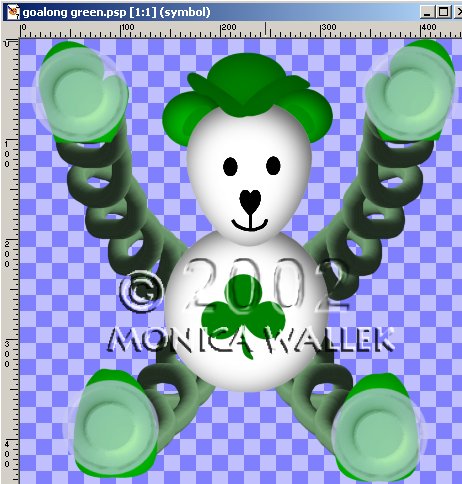
- Add a new layer, Cups. Open my suctioncup.psp file and copy and paste the suction cup over each hand and foot.
- Add new layer, Symbol. Load my clover.sel file or choose the shapes tool and use the heart shape. Flood fill with either #008000 or #C00000. Select none. Move clover into position. Resize your image and save it.


PSP7 tool icons are from MaMaT's icon tubes.
"PSP" refers to
CorelTM Paint ShopTM Pro®.
The individual creators own the copyrights and/or trademarks on their respective software filters, fonts, presets, Quick Guides, scripts, magazines, and images/banners which are mentioned or appear on these pages.
Customizable layout provided by Blue Robot CSS layouts. Note that I changed the colors, background and customized the CSS for my site.
© Copyright 2001-2011, Monica Wallek, All rights reserved.
Using my tutorial, means you agreed to these usage terms. All page elements, tutorials, and explanatory and sample graphics belong to me except where otherwise noted.
