Sine Dots II Angel

Since I've been playing with the SineDots II filter, I started doodling and created several presets. I was distracted by other projects and set the presets aside. I started playing with Prestigious Dames' Ronni's Tree. I decided to try making a topper angel. Found my old preset and created another one as well. This lesson does require the free SineDots II plugin, any other filters are optional. The angel face and wings are not possible without Quist, of Quiescent Graphics, who happily gave her permission for me to offer you those supplies.
You should already be familiar with resizing and merging layers.
Since PSP6 does NOT have a styled line option, PSP6 users are welcome to create their own wings however they choose.

Sources
Download supplies here. I am providing the angel face, styled line for wings, and gown and sleeve SineDots II presets. You need to have SineDots II filter already installed and place my preset file in the same directory (If you need the filter itself, please check my Filters Link page under "Filters"). Styled line needs to be placed in the Styled Lines folder in the PSP7 directory.

- Open a new 200x350 transparent, 16.7 million color image.
- Open SineDots II, and click the Open button. Choose MW Angel tut settings.cfg from the window. Choose the sleeve-MW from the pulldown menu.
- Click OK and move sleeve to right side of image. Duplicate layer. Then Image->mirror.
- Merge visible and Image->Flip and save your creation for later.
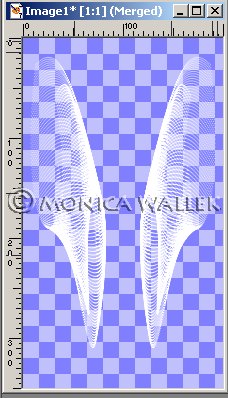
- Open a new 300x300 transparent 16.7 million color image.
- Add a new layer named Gown.
- Open SineDots 2 filter and load my gown preset.
- Duplicate your layer. Image->Mirror the copy layer.
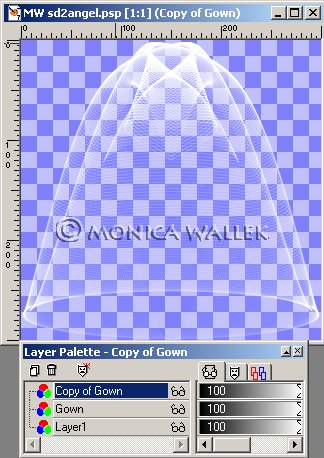
- Merge Visible the two gown layers and rename Gown Front.
- Duplicate the gown front and rename Gown Back. This way you'll have a front and back gown to surround your tree top.
- Move Gown Back layer down one layer. Have you saved lately?
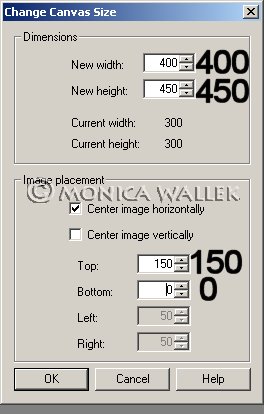
- Now, we need to make room for the head, wings and halo. Image->Canvas Size.
(But WHY? --We just added 150 pixels to the top and 50 pixels on each side.)
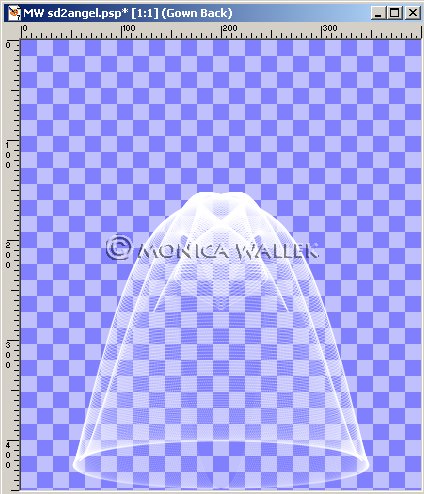
- Click on Gown Front layer and Add new layer, Head.
With your preset shape tool , ellipse and line width 3, draw a circle from 200,110 to 280,200.
(I used Foreground: #FEDADA and Background: #FEECEC.) You will need to position the head over the gown with the mover tool.
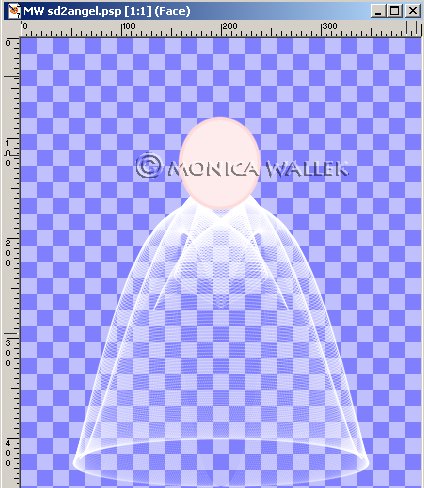
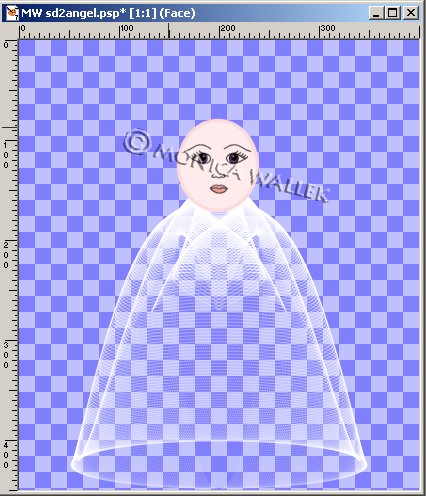
- Add a new layer Face.
- Open the angelface file and copy and paste as new selection. You will need to resize this.(I used 70%.)
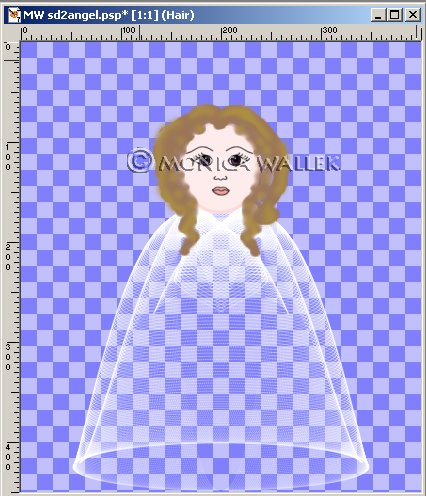
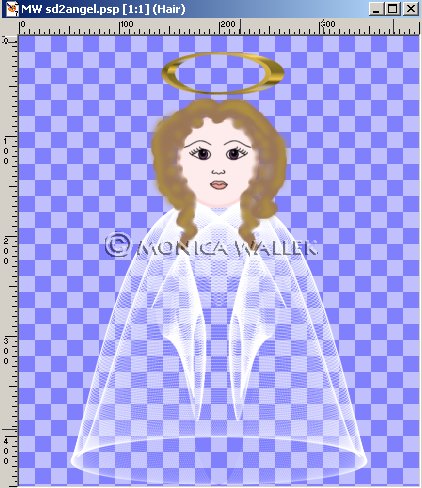
- Add new layer, Hair.
- Using your paintbrush, draw in some hair. If you wish you can apply filters to it for a different look or add several layers. (I used #987757 and #AF9141 for my hair.)
- Add new layer, Wing.
- Choose your freehand line tool
 set to width 9, foreground style white and background null.
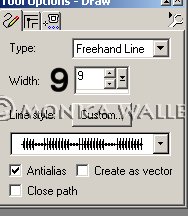
- Draw a line from 165,190 to 69,143. Or whatever looks good to you. Add more lines if you wish to fill out her wing.
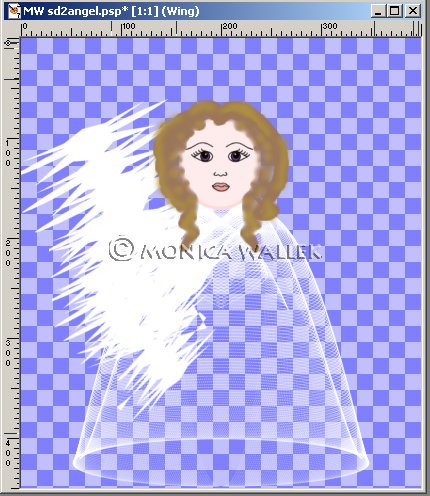
- Duplicate your wing layer and Image->mirror. Merge your wing layers. Move them below your gown layers.
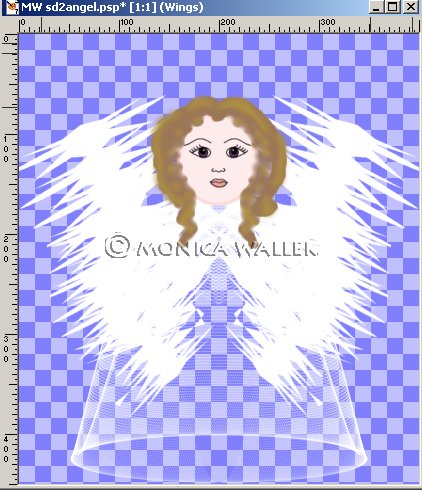
- Last new Layer, Halo.
- Click on preset shapes tool
 and choose RING. Antialias and retain style should be checked. Draw your halo out.
 - Open the sleeve image you saved earlier. Copy the image and paste it onto your angel image as a new layer. (I had to hide my wings to see what I had done. I also resized the sleeves by 70%.)
- Now, you can apply a BladePro preset to the gown, sleeves, wings, etc. Or you can do Effects->Texture->Sculpture and choose the gold, silver, or copper presets. Remember BladePro presets work best on WHITE, but the PSP Sculpture effect works on any color.
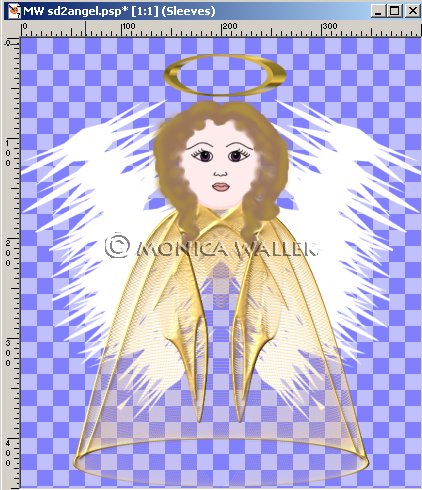
- Save your image as you wish for tubing, etc.

Samples
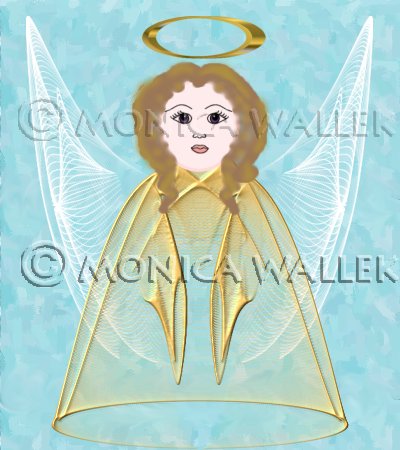
Many thanks to Val of Val's Dream for teaching me how to do SineDots II Angel wings. As I was typing in the settings for her wings preset, I stumbled on the perfect sleeve preset for my angel.


PSP7 tool icons are from MaMaT's icon tubes.
"PSP" refers to
CorelTM Paint ShopTM Pro®.
The individual creators own the copyrights and/or trademarks on their respective software filters, fonts, presets, Quick Guides, scripts, magazines, and images/banners which are mentioned or appear on these pages.
Customizable layout provided by Blue Robot CSS layouts. Note that I changed the colors, background and customized the CSS for my site.
© Copyright 2001-2011, Monica Wallek, All rights reserved.
Using my tutorial, means you agreed to these usage terms. All page elements, tutorials, and explanatory and sample graphics belong to me except where otherwise noted.
