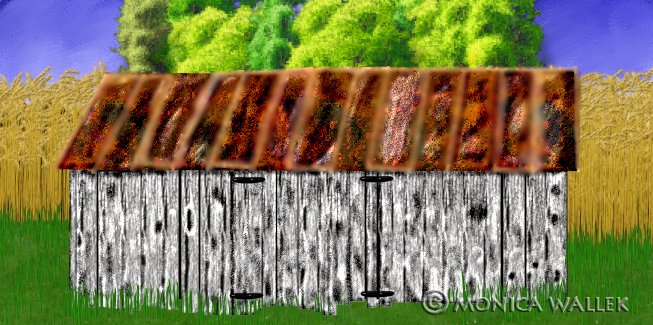
PSP7 Vector Country Tool Shed
I thought I'd create another country building since my Country Barn was so popular. This time, you will be doing the vectoring, editing, and grouping. You should be familiar with the various layer and vector terms already as well as changing colors, patterns, etc. You should already know how to group your sublayers. I have found grouping, renaming and moving layers around is quite helpful to my own sanity.

Sources
You can find plenty of information about vectors and editing (and any other PSP7 tool, for that matter) in the JASC help files included with the program. If you prefer, you may use outside filters to create the various metal effects such as sheet metal and rust.
You will need my supplies here which include a color swatch file and the rust pattern. Rust pattern was created by me using various techniques and outside filters on my own photograph from my camera.

- Open new 653x325 transparent 16.7 million color image. You'll need to save your work often! NOTE:for the vector drawing, I will not be using the fill I tell you to use. I want you to see exactly what I am creating. If I use the pattern, everything will blend into a big shape. Also, items in quotes can be used to name the groups of similar shapes.
- Set your background black and foreground null. Choose rectangle preset shape set to vector and anti-alias checked.(I tried the wood fill and it didn't look right to me.)
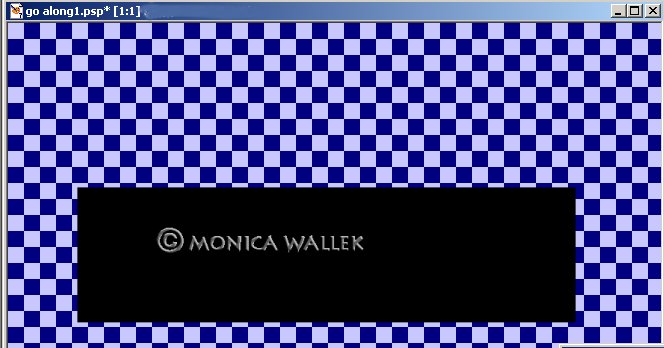
- "Inside" You will draw out a rectangle similar to mine. This will be the inside walls of the shed that no one will see. Rename the rectangle to "Inside".
- "Left Wall" You will be creating a series of various rectangles as shown using the driftwood pattern as your background/fill style (size 25, angle 90), foreground null. You can vary the lengths and not worry too much about the spacing between them. The boards just shrank up a bit differently. Group these rectangles.

- "Right Wall" Repeat the same steps as for "Left Wall".
- "Right Door" Add more of those rectangles for your door. Group them together.
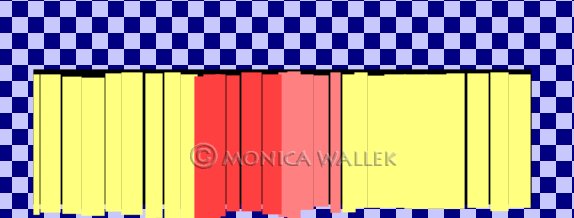
- "Left Door" Follow same directions as for "Right Door".
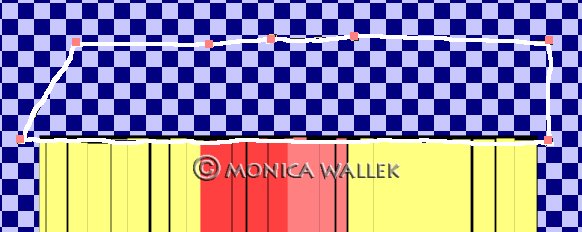
- "Roof" We'll use the rectangle shape again, but change the pattern to my MWrusttile.psp (size 100, angle 0, or choose what looks good to you!).We need to node edit the roof line so it is sagging on the ends and high in the middle.
- "Details" Tired of the rectangle shape? Good! We'll be using the line tool in vector mode. Set your Foreground color to #FAC17E and Background to null. (line size = 3, or choose your own)Draw out the weld seams for the roof panels. Group the lines.

- "Hinges" Set your background to black and your foreground to null. Draw out an ellipse flattened for one hinge. Copy and then Paste Vector selection 3 more times. Group.
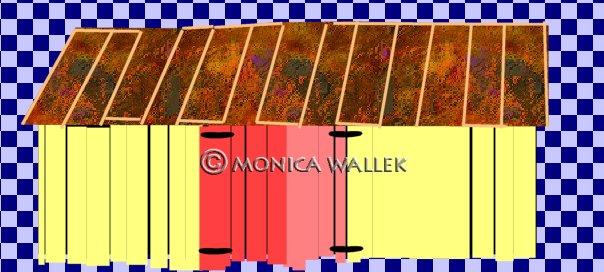
- Put down your mouse and read this first! I'll explain how to float down a vector group or item here and it will apply to all the vector items we created. Make a SHIFT-D copy of your image and close the original. This is just in case something really bad happens. First click on the lowest item, the Inside. Choose Selections->From Vector Object. Choose Selections->Float. Then, Selections->Defloat. Answer OK/yes. KEEP SELECTED. Hide vector layer above.
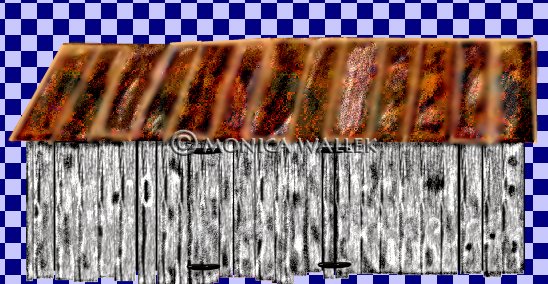
- For all the Walls and Doors, float down the selection of each group. Then, using the retouch settings shown, dab on some highlights and shadows on the boards. I'll leave the exact placement up to you. The more you move the retouch tool over the same area, the greater the change you make. I found it easier to zoom in on the boards while retouching them. Select None.
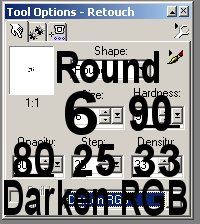
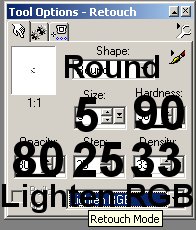
- "Roof" Float down. Use the retouch tool and same settings to add highlights and shadows. Select none.
- "Details" Float down. Select none. Use the retouch tool with settings shown to tone down the strong lines.
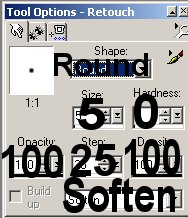
- "Hinges" Float down and add inner bevel effect of your choice if you like. Select none. Depending on your retouch tool use, your image should now resemble mine.
- You'll want to save your creation and add any extra items to create the scene.


PSP7 tool icons are from MaMaT's icon tubes.
"PSP" refers to
CorelTM Paint ShopTM Pro®.
The individual creators own the copyrights and/or trademarks on their respective software filters, fonts, presets, Quick Guides, scripts, magazines, and images/banners which are mentioned or appear on these pages.
Customizable layout provided by Blue Robot CSS layouts. Note that I changed the colors, background and customized the CSS for my site.
© Copyright 2001-2011, Monica Wallek, All rights reserved.
Using my tutorial, means you agreed to these usage terms. All page elements, tutorials, and explanatory and sample graphics belong to me except where otherwise noted.
