I'm so glad you're participating in the Prestigious Wedding! I decided to make just a cake slice rather than a whole uncut cake. I have a new trick for making the filling without filters. This tutorial uses selections, so you just need to know how to use your flood and tube tools. Since I've included all the patterns, this lesson does not require any special filters.
![]() Please contact me if you have any questions or problems with this lesson! You can also ask for an off-line version of this lesson. I really don't mind sending it to you and I'm trying to gage the demand on my site for an off-line download area of my lessons.
Please contact me if you have any questions or problems with this lesson! You can also ask for an off-line version of this lesson. I really don't mind sending it to you and I'm trying to gage the demand on my site for an off-line download area of my lessons.
Before we begin, you do need to know that completing this lesson means you agree to the Terms of Use.

Supplies
You will need this file containing all the supplies*. It includes the cake fill patterns created from Martin's Twinkie preset from his Brown bag collection on his Planet Preset site. [Martin gave me his blanket permission a while back to redistribute his various presets. I make sure that we are all clear that the presets are HIS and he retains all rights to them.] I am also including the cake icing fill I made using my icing tubes.
*PLEASE NOTE: If you do not have the JASC Slime tube already, you will need to freely download it here in the Halloween tubes collection. You may need to convert them if you have version 7. You may also want to create icing tubes for further decorating.
1. Open a new transparent 400 x 400 image.
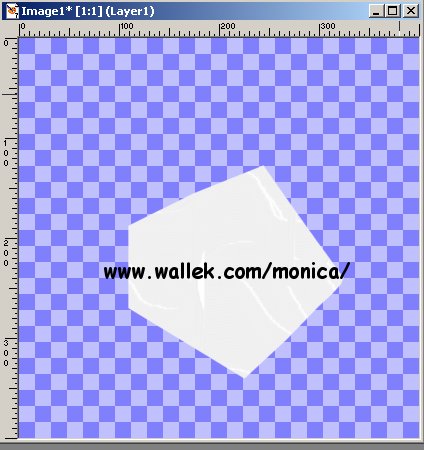
2. Add a new layer named Front Icing .
3. Selections->Load from Disk the 01fronticing.sel and flood fill ![]() with my icingpattern.jpg. (One is already lightened for off-white or pastel icing, the other is so you can colorize your own.)
with my icingpattern.jpg. (One is already lightened for off-white or pastel icing, the other is so you can colorize your own.)
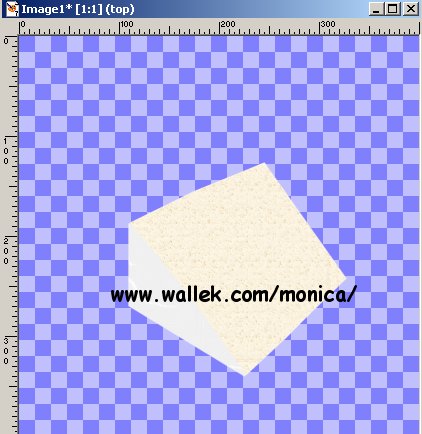
4. Add new layer named Top Cake .
5. Selections->Load from Disk the 02topcake.sel and flood fill ![]() with cake pattern. You can use your own pattern if you prefer or choose one of those I've included for you.
with cake pattern. You can use your own pattern if you prefer or choose one of those I've included for you.
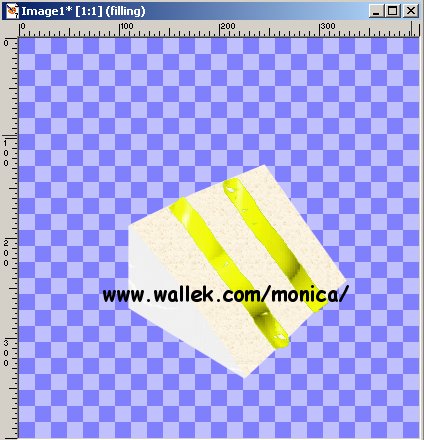
6. Add new layer named Filling.
7. Selections->Load from Disk the 03filling.sel and set your tube ![]() to Slime, scale 250, step 200. Apply tube into selected areas.
to Slime, scale 250, step 200. Apply tube into selected areas.
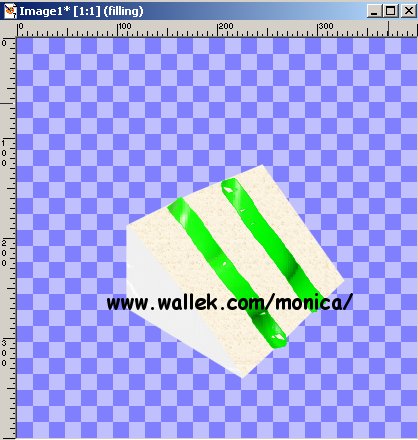
8. If you prefer, you are welcome to Colorize the icing as well as the filling. You can learn more about PSP's Colorize effect here. I chose a lemon color (hue 44, sat 243) for my filling.
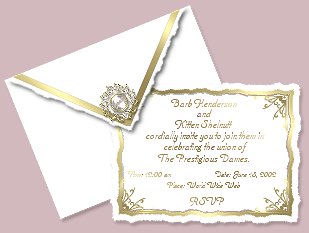
You are cordially invited to return to the Prestigious Wedding Tutorials, please click the invitation to RSVP.
PSP7 tool icons are from MaMaT's icon tubes.
PSP (Paint Shop Pro) is a copyrighted and trade marked product from JASC software.
Martin of Planet Preset kindly gave me his written permisison to redistribute his BladePro presets long ago.He retains all rights to those presets and related images.
You have the right to use the graphics you create from my tutorials for your personal use only. Using my tutorial, signifies your agreement to my usage terms. Groups may only link to my tutorial pages. All tutorials, explanatory and sample graphics belong to me. Any removal, distribution, profiting, storage or transmission of my materials, is a violation of my copyright and will result in legal action.