This is my first attempt at vector shape editing and working with the human
body. Don't worry this is done with selections in the lesson.
PSP7 tool icons are from MaMaT's icon tubes.

Please note: Anything you create from this tutorial is for your personal use only.
All files, screenshots, and text instructions I provide are mine under
copyright law, excluding other authors' work where noted.
Supplies
Download the supplies here.
I have also provided some extras to complete your park worker in the supply folder.
The head contains elements I learned in a lesson from Sue and the expression
is from Quist.
Shoes I made in Char's Trick or Treat lesson.
Clothing is modified from some Preset shapes by Sue.
Thanks everyone! This would have taken much longer to do without all your help
and lessons.
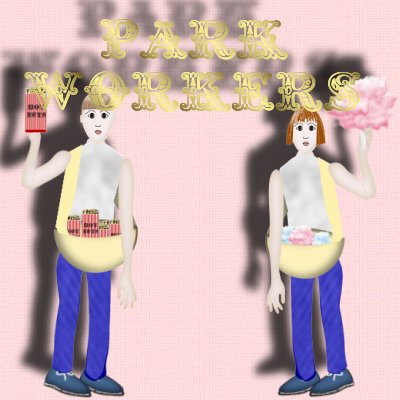
As a special gift, you'll find your 'Prestigious Park participation picture'
(shown below) included in the supplies file. Please feel free to use the image on
your own pages after completing this lesson.
1. Open a new 400x500 transparent 16.7 million color image. Please know that
you are welcome to try different colors from what I used in this lesson.
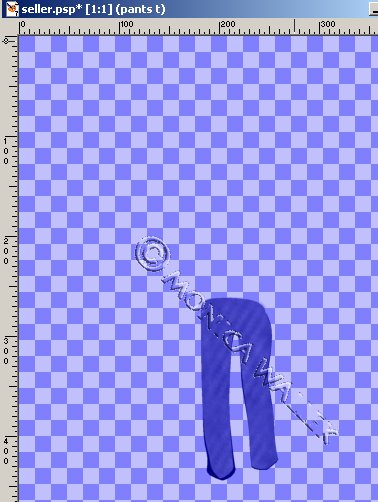
2. Add a new layer, Pants. Selections->Load from disk my 'pants.sel' file.
Flood fill  with #000080. Select none.
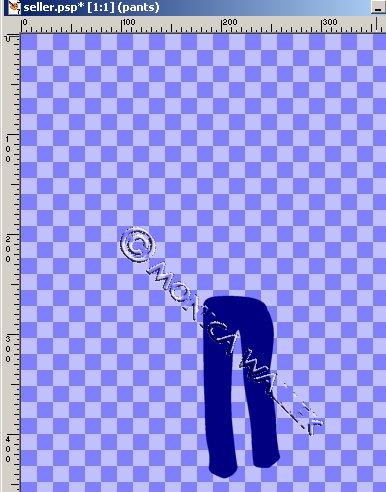
3. Add a new layer, Pants T. Selections->Load from disk my
'pants texture.sel' file. Flood fill with #8080FF and foreground texture set
to Denim. Select none.
4. Add a new layer, Shirt. Selections->Load from disk my 'shirt.sel' file.
Flood fill with white. Select none.
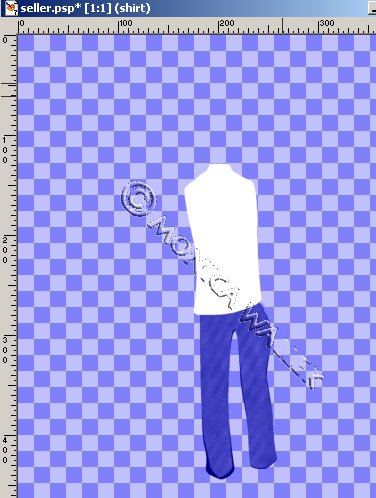
5. Add a new layer, Shirt T. Selections->Load from disk my
'shirt texture.sel' file. Flood fill with #808080 and foreground texture
set to Lands or whatever looks good to you. Select none.

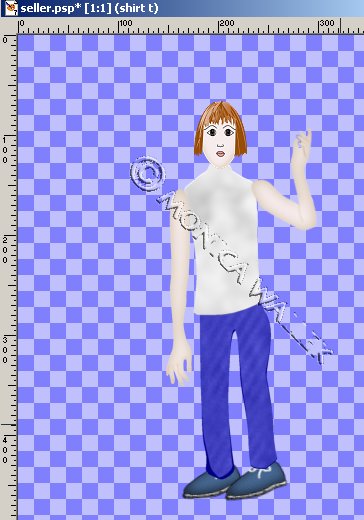
6. Open the park shoes.psp file and copy the image.
On your worker image, paste as new layer.
7. Repeat step 6 for either face file and the arms file.
8. Move the shoe layer down below your pants layer and position
 it so you see part of the laces on one shoe.
Move the arms and face into position too.
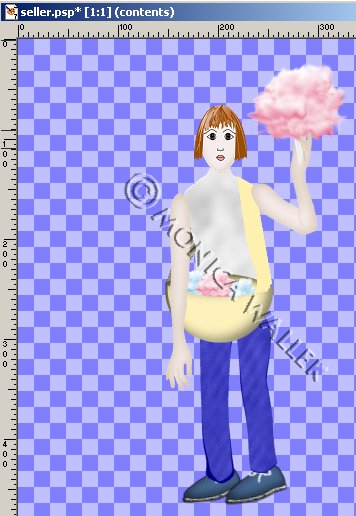
9. Open the bag.psp file. Copy the bag top layer and paste as new layer
into your park worker image. Bag top should be below the arms layer.
Repeat for the bag bottom layer, placing it below the bag top. By keeping
them on separate layers, you can "fill" the bag yourself with peanut bags, or whatever
else you can come up with on a new layer between the bag layers.
I adapted Ronni's Hanging Basket lesson to make this bag.
You are welcome to visit her site to make your own basket or bag.
Have a question?
E-mail me and place "worker" in the subject line if you want a response.
(My filters at this address are set to specific key words to control spam --
anything else gets filed in the trash can unread.)
Circus Graphics ©Copyrighted Prestigious Dames & Prestigious PSP 2002
Tutorials are ©Copyrighted by each Author
© Tutorial ©Copyrighted 2001-2002, Monica Wallek, All rights reserved.
You have the right to use the graphics you create from my tutorials for your
personal use only. Using my tutorial, signifies your agreement to my usage terms.
Groups may only link to my tutorial pages. All page elements (except Circus Graphics),
tutorials, and explanatory and sample graphics belong to me. Any removal, distribution,
profiting, storage or transmission of my materials, is a violation of my copyright
and will result in legal action.

Report Tut Thieves