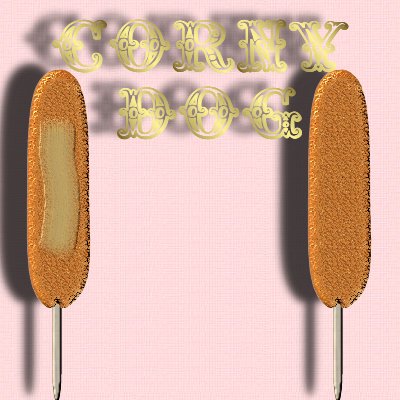
Preset Corny Dog
Welcome to yet another park food lesson. Please snack first before trying this
lesson. If you are not hungry now, you will be. I think you will enjoy this fast
lesson. You do need a version of the BladePro progam to complete the lesson.
The font I used is called Tropicana and can be found on Listemageren's site.
PSP7 tool icons are from MaMaT's icon tubes.

Please note: Anything you create from this tutorial is for your personal use only.
All files, screenshots, and text instructions I provide are mine
under copyright law, excluding other authors' work where noted.
Supplies
Download supplies here. Martin's presets should be placed in
the BladePro or Super BladePro Textures and Environments folder after unzipping them.
Please drop in and visit Martin's Planet Preset & BladePro Cafe for the rest of
his amazing food preset. Thank you for creating these Martin.
As a special gift, you'll find your 'Prestigious Park participation picture'
(shown below) included in the supplies file. Please feel free to use the image on
your own pages after completing this lesson.
1. Open a new transparent 350 x 350, 16.7 million color image.
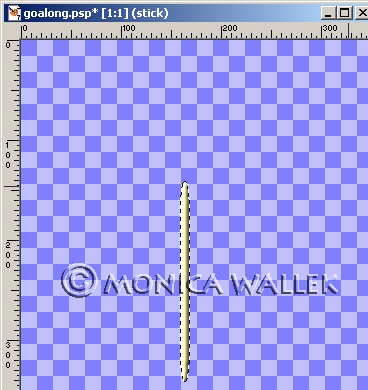
2. Add a new layer, Stick. Selections->Load from disk the stick.sel file. Flood
fill  with a light wood pattern of your own or use #FEF0AE. Select none.
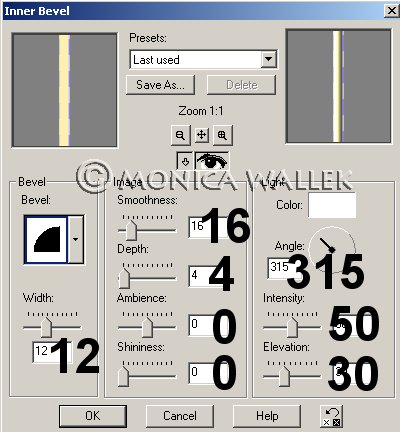
3. Apply Effects->3D Effects->Inner Bevel as shown.
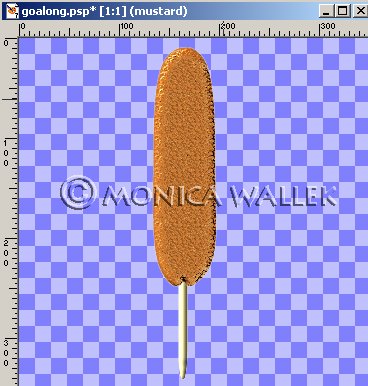
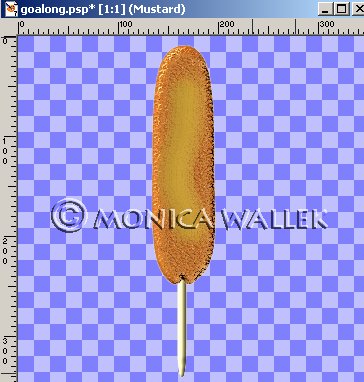
4. Add new layer, Dog. Load the corny dog.sel file. Flood fill with white.
Keep Selected!
5. Load your BladePro or Super BladePro filter. Find Martin's Fried preset in
the Home Cookin group. Apply preset and select none.
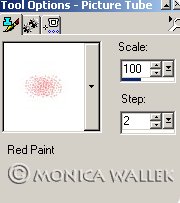
6. Add new layer, Mustard. Click on the tube tool  . Find the Jasc Red Paint tube in
your tube options. Swipe your tube down the center of your dog. But, it's RED!!!!
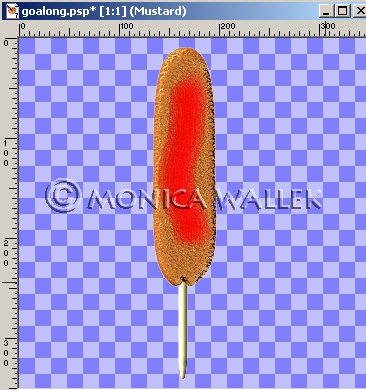
7. To make the paint turn into mustard, we'll need to use the Colors->Colorize
feature. Set Hue to 31 and Saturation to 148.
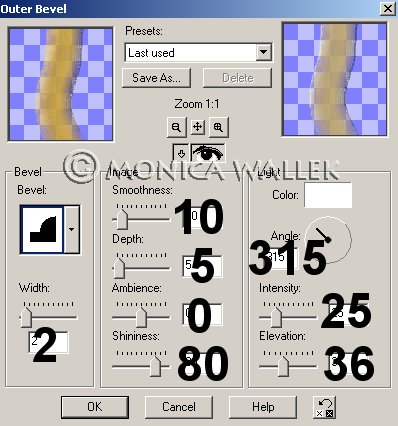
8. Now, we need some depth for the mustard. Apply the same Effects->3D Effects->
Inner Bevel. Then Select the mustard, Selections->Defloat and add an outer bevel.

Have a question?
E-mail me and place "corny" in the subject line if you want a response.
(My filters at this address are set to specific key words to control spam --
anything else gets filed in the trash can unread.)
Circus Graphics ©Copyrighted Prestigious Dames & Prestigious PSP 2002
Tutorials are ©Copyrighted by each Author
© Tutorial ©Copyrighted 2001-2002, Monica Wallek, All rights reserved.
You have the right to use the graphics you create from my tutorials for your
personal use only. Using my tutorial, signifies your agreement to my usage terms.
Groups may only link to my tutorial pages. All page elements (except Circus Graphics),
tutorials, and explanatory and sample graphics belong to me. Any removal, distribution,
profiting, storage or transmission of my materials, is a violation of my copyright
and will result in legal action.

Report Tut Thieves