|
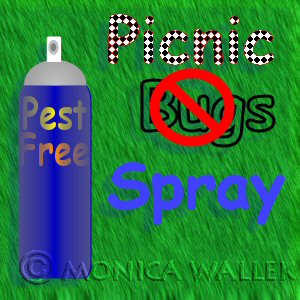
We'll be using the vector tools in PSP7 or PSP8 to create a can of bug spray.
No node editing, but should already be comfortable grouping, copying, mirroring, moving and
changing the properties of vector layers. Familiarity with the various vector tools is assumed.

Sources
You'll need version 7 or 8 of Jasc's Paint Shop Pro.
No outside filters needed.
- Open a new 450 x 450 16 million color transparent image.
- Choose the rounded rectangle vector shape, create as vector
checked, antalias checked, retain style
unchecked.
- Set your foreground color to null and your
background color to #0000C0.
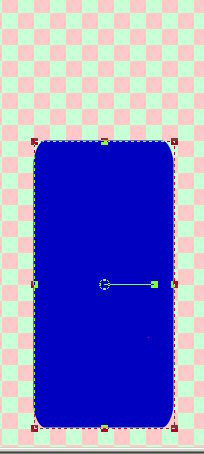
- Now, we'll be drawing a rounded rectangle which will become
the form for the can later.
Draw out your rounded rectangle, with create as vector checked, UNchecked retain style.
- Select that shape you just drew, copy it, paste it as new
vector selection.
- Move the copy so that it is positioned the same as
the original.
- Using the Vector Selector, change the foreground to null and
background color to #4E4F8C.
Set the fill to gradient (look for the name "Fading Background"), stroke to null.
In the gradient window,
choose angle 90, repeat 1, and linear gradient.
You now have a bit of dimension on your can.

- Now, rename the original "Can" and the one you
pasted "can shading". DO NOT GROUP THEM.
WHY? You want the shading to be above the text
and other items you might add on the can later.
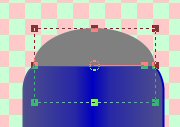
- Now, change the vector shape to an ellipse.
- Set your foreground color to null and
the background color to #808080.
- We are drawing out an oval wider than it is tall
for the top part of our can.
I've moved the new ellipse behind the can layer
so I can align the oval tips with the top of the can.
- Select the shape you just drew, copy it,
paste it as new vector selection exactly over the original shape.
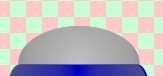
- Using the Vector Selector, change the foreground to null and
background color to #C0C0C0.
Set the fill to gradient (Fading Background), stroke to null.
In the gradient window,
choose angle 0, repeat 0, INVERT checked and sunburst gradient.
You now have a bit of dimension on your top.
- Group your new top and shaded top. Rename as Top.
- Choose the rounded rectangle vector shape one final time.
Set foreground to null, background to white.
- Draw out the spray button. Rename "spray button".

- Change your background to light gray.
Set the shape to ellipse.
- Draw out the nozzle inset area.
Rename the shape "nozzle inset".
- Changing only your background color to dark gray,
add an even smaller ellipse centered on your last shape.
Rename this shape "nozzle".
- Now, group the button, and nozzle parts.
Rename the group "nozzle".
- Set the background color to a nice bright yellow.
I used #FCEE0E.
Type the first line of the bug spray name, Pest.
I used Comic Sans at size 48 and BOLD.
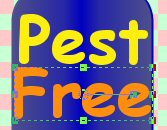
- Change your background color to orange, I used #FD8F0D.
Type in the second line of your bug spray name, Free.
- Now, arrange the vector parts as shown and group.
Name the group Bug Spray.
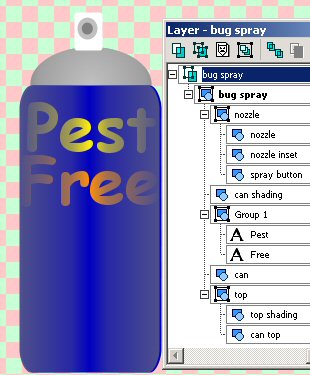
- Rename the vector 1 layer "Bug Spray".
This will make things very nice when we save as a preset shape.
- To save your new spray can as a preset shape,
File->Export->Shape.
- Be sure to save your image as a .psp or .pspimage file as well.
Just in case you need to correct something with the shape.
- For those wondering why you had to rename each vector part,
in PSP8, line, ellipse, vector, etc can cause PSP8 to think the
shape is a duplicate of another shape and
not allow you access to that shape. (PSP8 will not see named duplicate items.)
- To use your shape: Open a new image any size, choose preset
shapes, retain style, create as vector.
Draw out your shape.
- You can either convert to raster, or select each part of your
new shape and promote the individual parts to their own layers.
The second method allows you to insert insects or whatever else
on raster layers between the converted vector layers.
|